 Skip to content
 Teething beads are by far one of the easiest and most personalized gifts you can give to a child. If you can string some beads you can make a teether, it’s really that simple.How To Make Silicone Bead Teether?
Of course, because these are given to small children there are a few safety precautions you will want to take but all in all these handmade teethers go together in just a few minutes and are shockingly strong. Follow our quick and easy tutorial to find out how to make piles of super strong, beautiful handmade teethers for your next event, craft fair or baby shower.
To begin you will need to know how many beads you need to make a teething ring and that depends on the size of the beads.
We carry three sizes of the basic bead shape, but silicone teething beads are available in a variety of shapes and sizes. 10, 15, and 19 mm. In addition, we have ornamental varieties that include letter and heart beads, basketballs, mushrooms, succulents, rabbits, and succulents; however, we will save those for another time. Make sure the silicone beads you use for teethers are of the medical variety. If they do not have any wood, these will be okay to wash in the dishwasher, hand wash, or washing machine. If not, I would suggest doing a basic hand wash.
What could be more fun for a parent, than a toy that is both functional and relieving for their teething child! This teether toy rattle meets so many different developmental stages for your precious littles. From bright colored, chewable beads, to natural beech wood rings that create a lovely rattling sound, this entire toy is such a sensory gift! And best of all, it’s easy to make and customize.
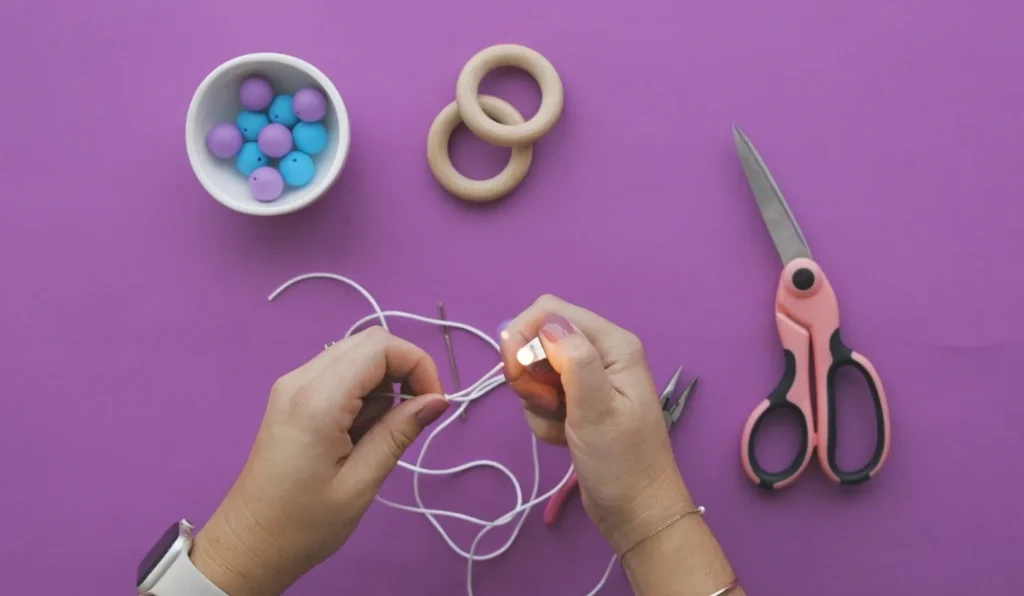
Here are all of my supplies gathered together. (Keep in mind, most of the supplies come in large quantities. You will have plenty to make many, many baby chew toys for many baby gifts. Just remember though, you don’t need every single item to make some darling variations….. But you could keep it to 2 or 3 items from this list and still make plenty of cute teething toys.)
Supplies Needed:
- 1 x 60” white regular cord
- 10 x 19mm round beads
- 2 x 2.35″ Beech wood ring
- 1 x Crafting needle
Now, before you begin making anything….. here’s what I did to clean my wood, to make sure it was safe for baby. Because I’m paranoid, I washed all of my pieces with antibacterial soap and water, making sure to remove any type of the dust or germs from the surface. (Just make sure not to soak your wood, as you don’t want it to swell or crack.) Then let it air dry. However, if you’re worried about using soap, vinegar is a great disinfectant that is safe for eating and dries quickly. Once your wood is completely dry, you can use virgin coconut oil to moisturize your wood and keep it from splitting. Just rub an ample amount into the wood, and then wipe off any excess with a paper towel. (To clean wood toys after baby uses/soils them, repeat the process of disinfecting and then re-moisturizing with coconut oil.)
Step-by-Step Instructions:
1.Melt one end of the nylon cord – this prevents fraying when you begin beading.
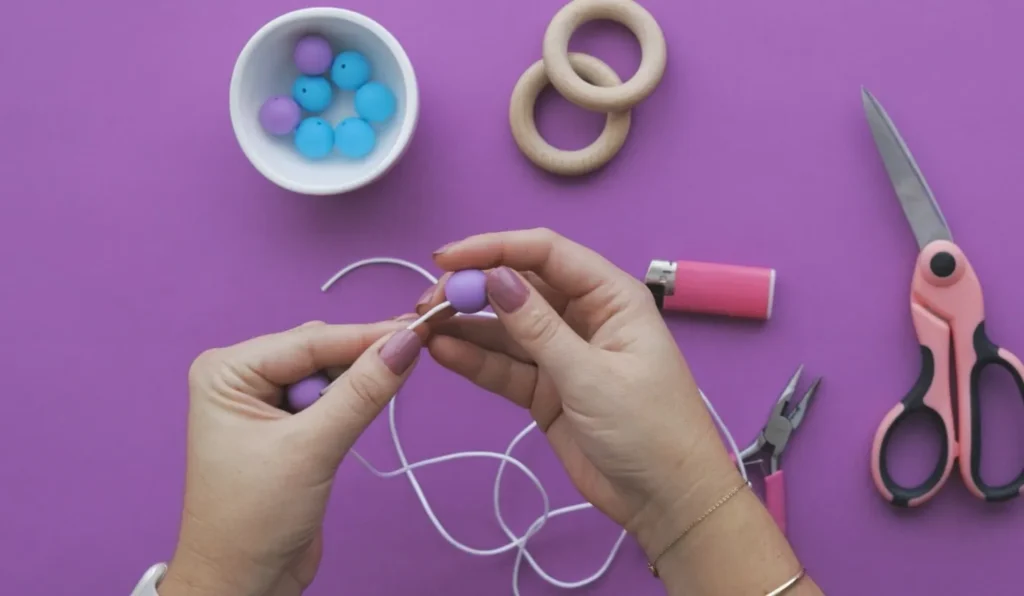
2.Begin stringing your beads in preferred order of colour.
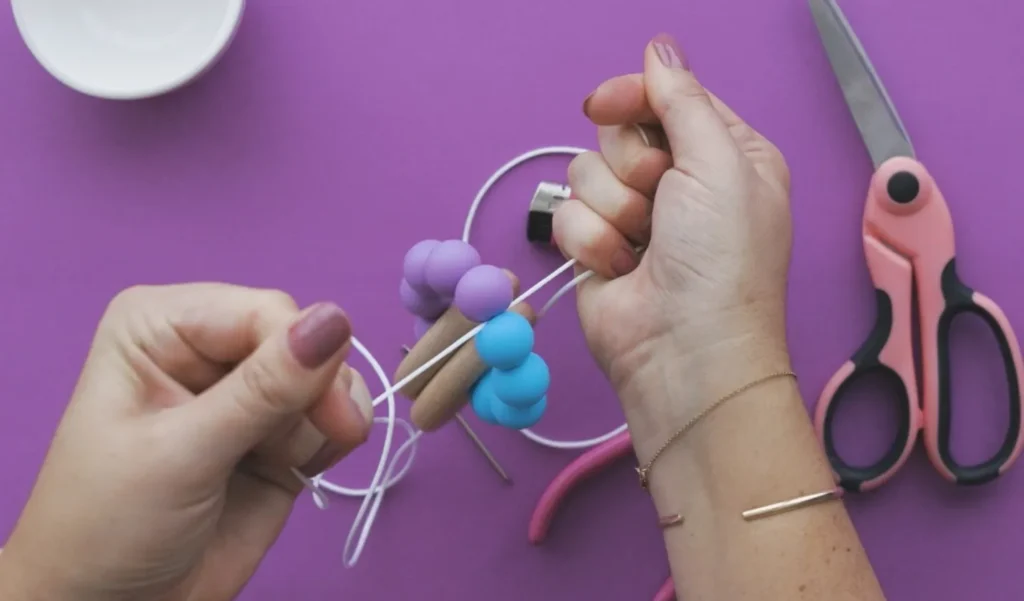
3.Once all of the beads are strung, slide the wood rings onto the beaded cord.

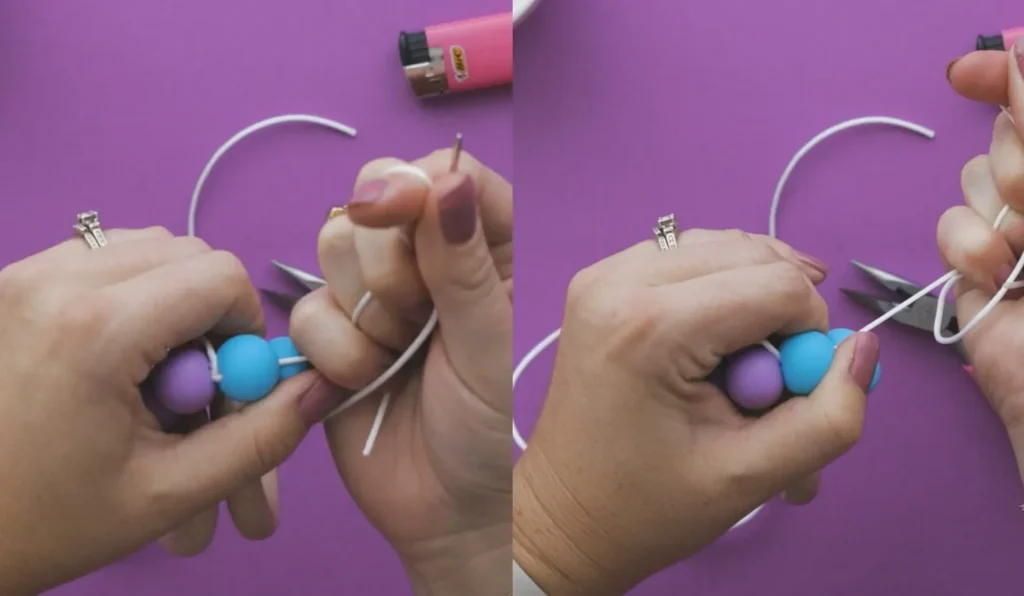
4.Knot the cord tightly between two beads. Ensure that when you begin knotting, you have kept the beads on the cord as tightly together as possible. Pull the knot tight. Then double knot for extra safety.
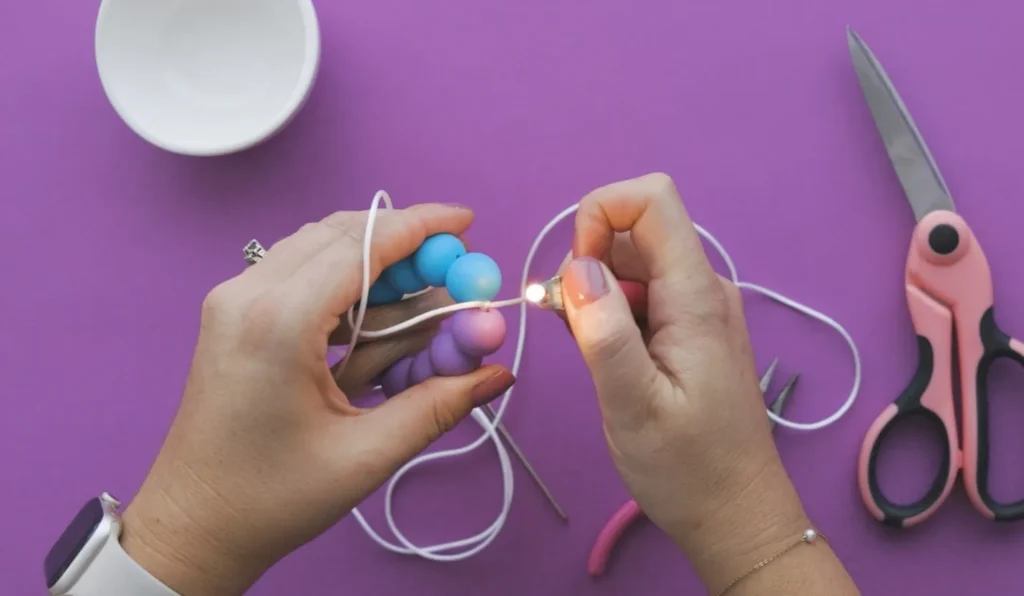
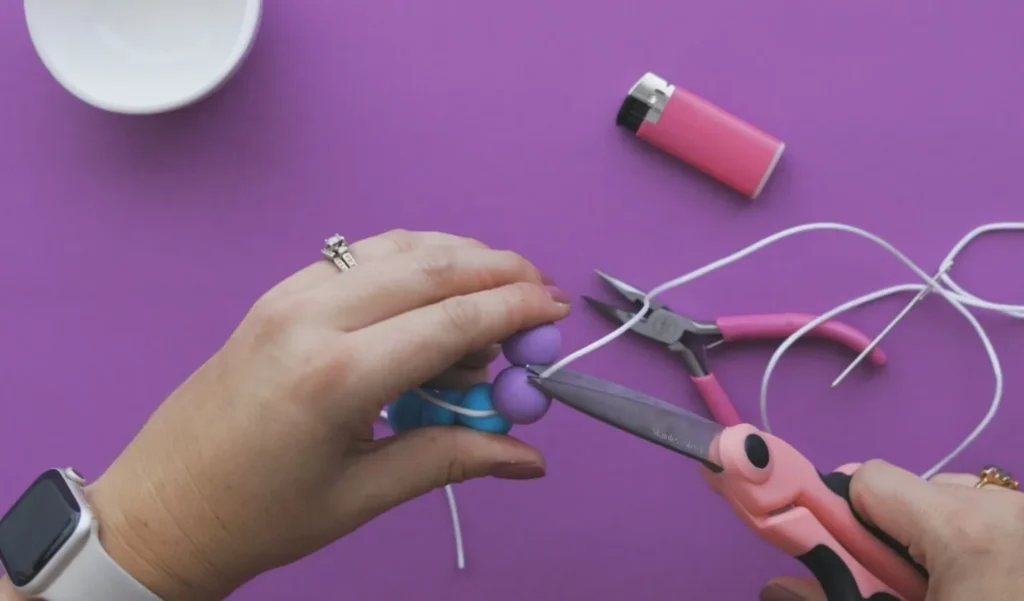
5.Take your lighter and run it over your double knot to slightly melt it.
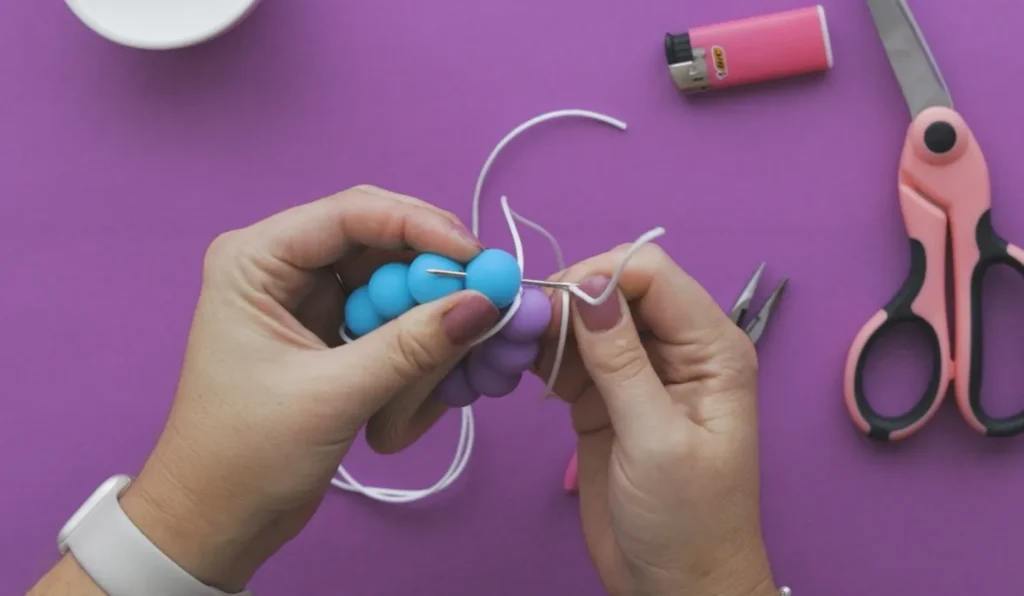
6.Once the knot is cool, thread one of your strings with your crafting needle. Carefully thread your needle through one of the beads beside your current double knot. (You may need pliers to help you get the needle through!
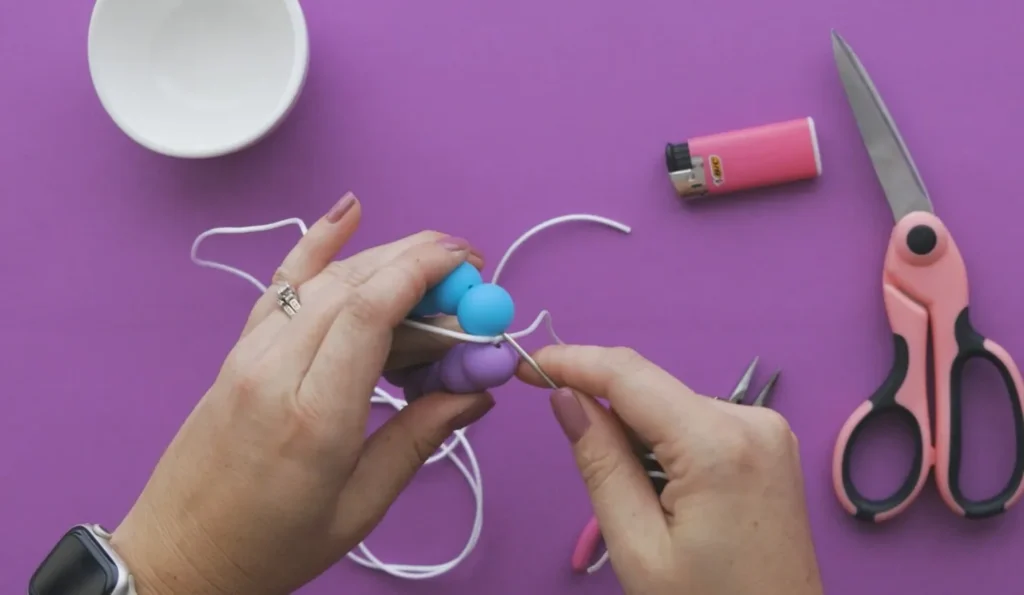
7.Pull your threaded cord all the way through that bead, carefully pulling your knot into that bead to hide it. You should have a string on each side of this bead.

8.Taking that same threaded string, keep threading it through the next five beads.
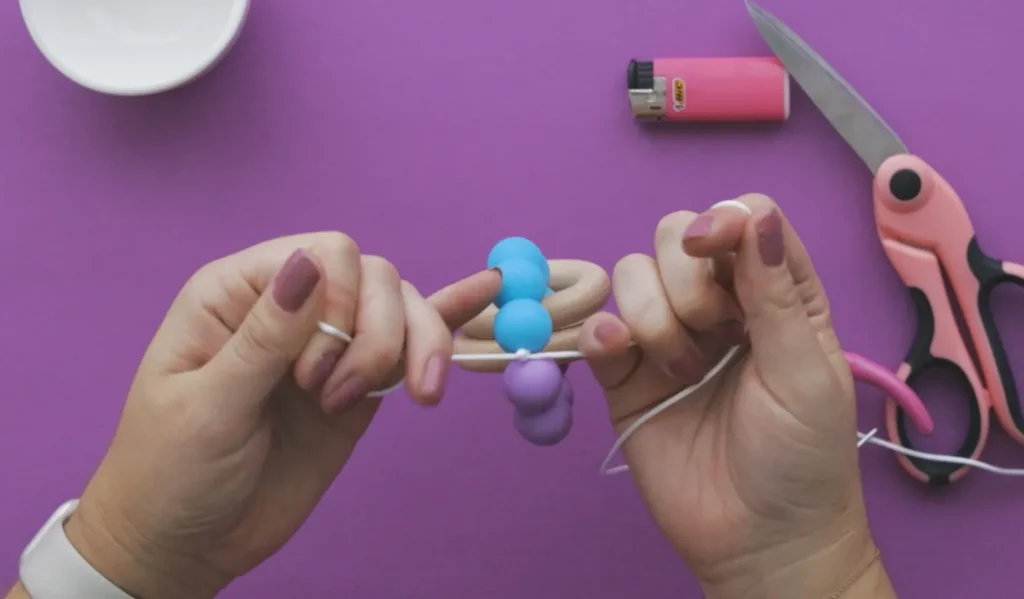
9. Carefully place your needle on your other string, and thread it through the beads in the opposite direction until you meet up with your first string.
10.Tie a tight double knot. Take your lighter and run it over your double knot to slightly melt it.
11.Thread one of your strings back onto your needle and carefully thread it through one of the beads next to your knot. Pull the knot into the bead.
12.Trim the ends of your string that are coming out of your bead. Fuse the ends of the string to prevent fraying.
Just like that, your teether toy is completed and ready for you little one to enjoy. The strong beech rings provide an extra element of fun as they rattle against each other! We are sure it will be your child’s favorite toy right away!
Remember There Are A Few Simple Rules for Making Teething Beads:
Keep the circle tight. You don’t want little fingers to be able to get in between the beads and possibly pinch, you don’t what it to be super floppy or be able to be twisted around a wrist or any other small person part. Silicone beaded teethers will always be tighter because the small amount give to the beads allows them to be tied tighter than wood.
Keep the circle small. The silicone teether shouldn’t be much bigger than a 2- or 3-inch circle when done. If you want to make a larger piece breakaway are required to prevent any possible strangulation hazard.
Knot at the end of each side of the beads to secure pull ends together to form the ring and knot ends together…twice. You want 0 chance the knot is going to come loose.
Melt and fuse cord. Use 2mm thick synthetic cord, anything larger is hard to bead with and anything smaller doesn’t hold the melt long enough without cooling to properly fuse. If you properly fuse the ends, it should hold a minimum of 15 lbs of constant pull. AKA there is NO WAY it’s ever coming apart.
Wiggle the fused knot into the beads. A good shimmy and a little finesse should allow the knot to wedge itself somewhere near the center of the bead, this keeps the knot from any baby teeth, improves the look and helps keep an even pressure on the knot.
Give the piece a good tug to test before giving it to your child. Go ahead pull all you want it will should never ever break or budge no matter how hard you pull. It’s small size, round shape, tight beads, fused cord, not one but two knots one on top the other make it extremely strong. That should give you some understanding of the strength of this method and why it should never be used on larger pieces like necklaces. Give it a good tug, if it feels even slightly loose cut it apart and do it again.
